Our school is getting ready to replace our fleet of 1:1 Chromebooks. After running the program for 2 years we came to realize the importance of being able to do in-house repairs. 90% of the issues we had with our current devices (Acer 720's) was screen breakage. We tried the send away method to start, but quickly stopped because having a 2 week turnaround for something we could fix in 3 minutes just did not make any sense. This is why the ASUS c202 really caught our eye when it was debuted at CES 2016.
A big thank you goes out to ASUS and CDWg for getting us a one that we were able to disassemble and see if really lived up to what we were hoping for. And so far it does.
Teardown
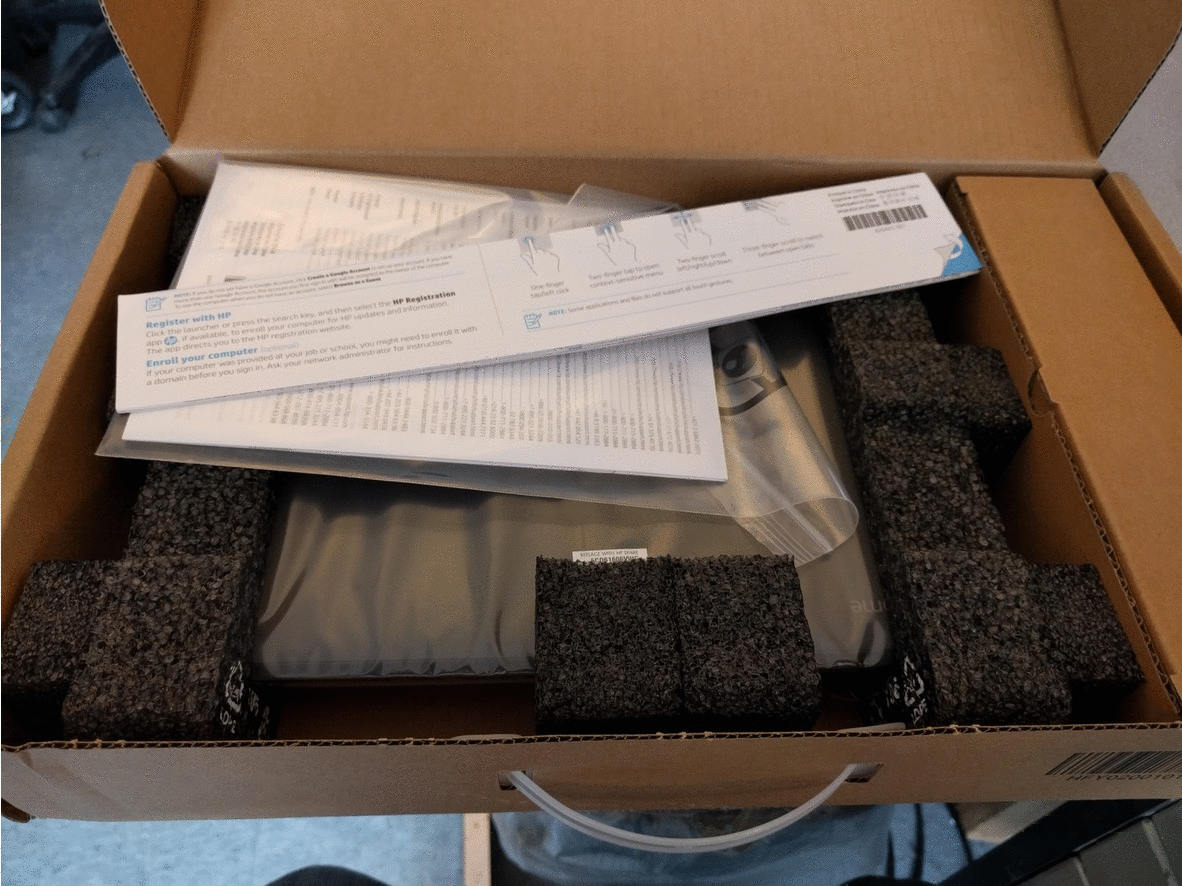
Packaging.
I actually never thought about packaging until I had to unbox 500 Cromebooks 2 years ago, and now I can't stress enough "Bulk packaging from the manufacturer please!!!". That said Asus did a good job with the packaging. Unlike other boxes I have opened, the Asus box flipped open and I was able to take the device out of the box very quickly, and there is no plastic that needed to peel off.
First impression:
"The keys are blue!!", It is just one of those things that stands out. It looks cool, but now that I am trying to type this blog post at night when the lights are off, the lesser contrast of blue keys are actually kind of annoying. If I can't get backlit, can I at least get glow in the dark indigo keys.
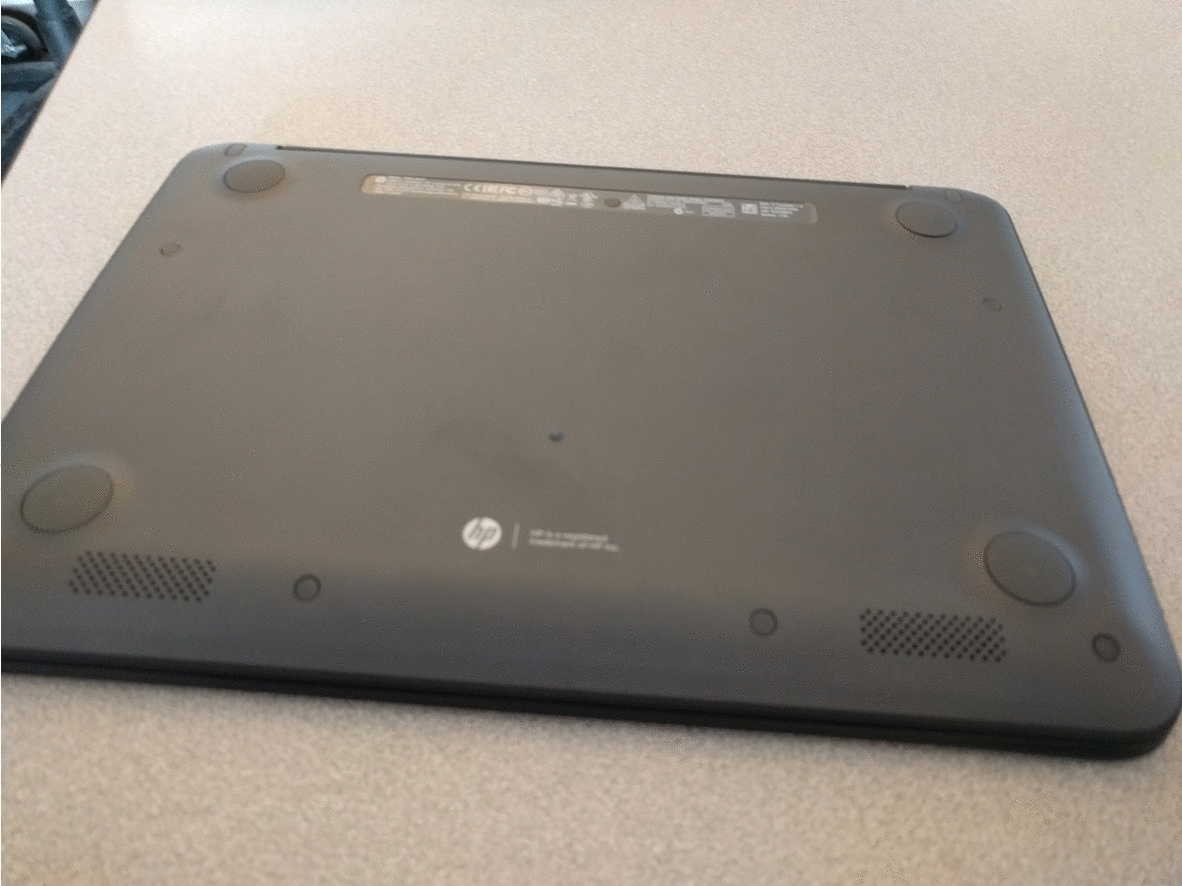
Keys, aside, I love the construction of this. The edges are rubberized, and the plastic is matted, so it really gives the feeling it can take a beating. The bottom has two very long rubberized feet. As long as they stay on they are very nice. They keep the Chromebook securely on a desk and make it easy to pick up.
It is a bulky Chromebook and very far from it's cousin the Flip, but for a 1:1 device in a high-school I think it's the right size.
Replacing the monitor:
Being our most common repair we wanted to know how this was done. I would put this about even with the 720's in terms of replacing the screen. The c202 has 2 screws to remove which the 720's don't, but the flat bevel of the c202 was a very smart choice, and well worth the added 2 screws.
- First peel of the little sticker covers to reveal 2 screws at the top.

- Then it was a matter of peeling back the plastic bevel, which was snapped on. Unlike other bevels we have removed, it didn't feel like we were breaking the plastic clips as it was coming off. The best part was that the bevel was flat. The 720's which we are all too familiar with removing had an extra bend in molding that covered the hinges. This bend was always the hardest part to pull out.
-


- The screen itself, was held on by a standard 4 screws and it was a pretty standard removal of the screen. The screws were on the top and bottom, vs the sides like they are on the ACER, which actually means the bottom screws are adding an extra mount point for the hinges, which is nice.
Another thing we have come across in the past is the cable loosening out of the back of the screen, causing it to go dark or black, but not break. This was understandable considering the lightweight piece of tape the Acers used. That was not the case with the Asus c202, the tape on the back holding the ribbon cable on, uses some type of industrial strength glue. 

Pulling the bottom apart.
The bottom is attached by several screws around the outside, and 2 that are hidden in one of the rubber foot bars. Once the screws were out, it actually took me a few minutes to figure out how to separate the device. I found that if I grabbed in the front, I could pull back the plastic enough to get the process started.
The bottom is also a solid design, so if liquid did spill on the desk with this sitting on it, I don't see any entry point where it could get inside the device.

Keyboard and mouse:
With the 720's if the keyboard was bad, we just turn it into parts. That was because to replace the keyboard, meant removing the motherboard and everything form the device. It was not a fun process. The c202 was the opposite. They keyboard and mouse of the c202 came out very easily, and they did a good job of making it a user replaceable item.
When you pull up the keyboard, you will see that it is attached by 2 ribbon cables. The first time I put it back together I did not have seat the ribbon cable back properly, because the keyboard didn't work. I can see this ribbon cable possibly being an item we will have to reseat after some wear and tear.
When replacing the keyboard it will be the entire top section of the c202, including the plastic that surrounds the mouse pad.
The mouse detached from the keyboard by 3 screws, again making it a very easy to replace item.
Here is the wide view if the back of the keyboard. It is spill resistant, so I am thinking that even if something gets spilt on it, only the keyboard would be affected and not the rest of the device.
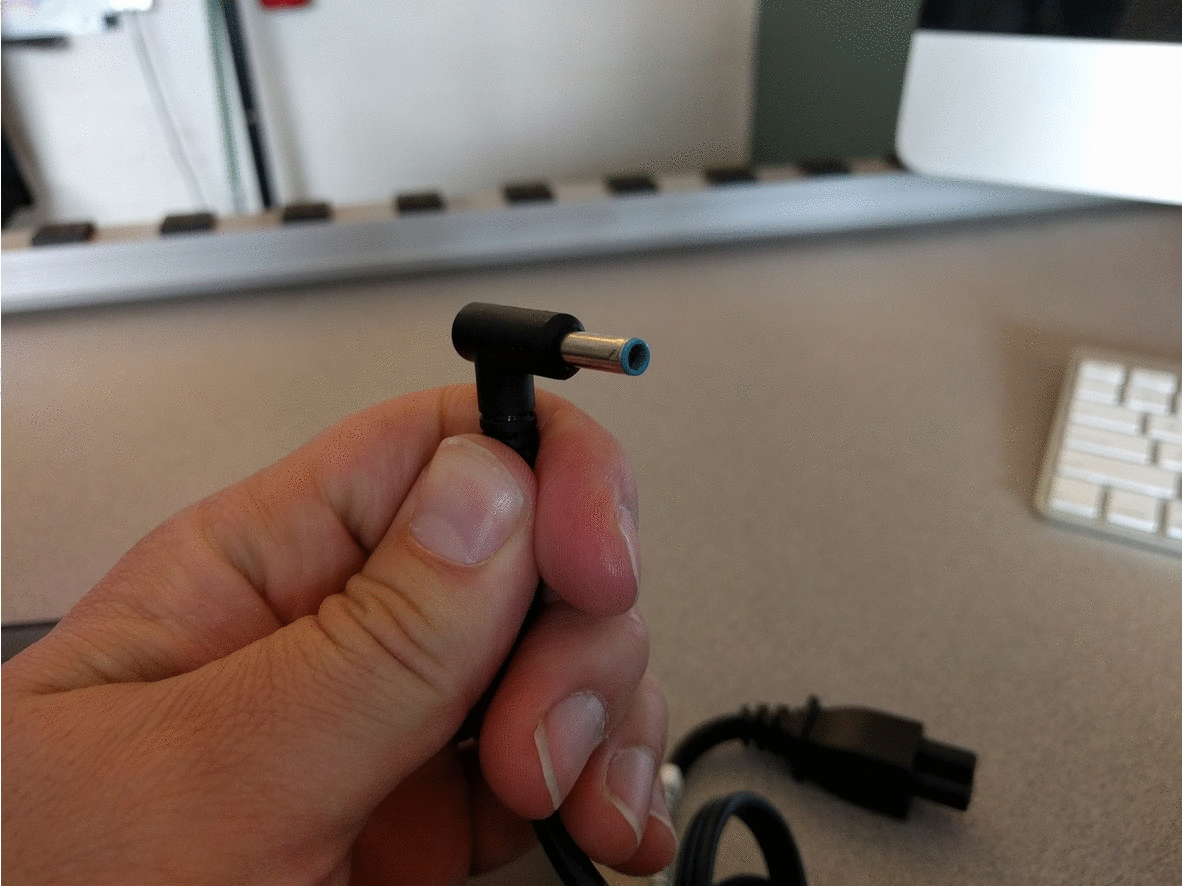
The Power Adapter
The Acer 720 and the Lenovo n21's both have this dinky power plug. I am very surprised that we didn't have more broken ones than we did. The c202's plug was larger, and even place where the cables mount to the power brick seems beefed up.
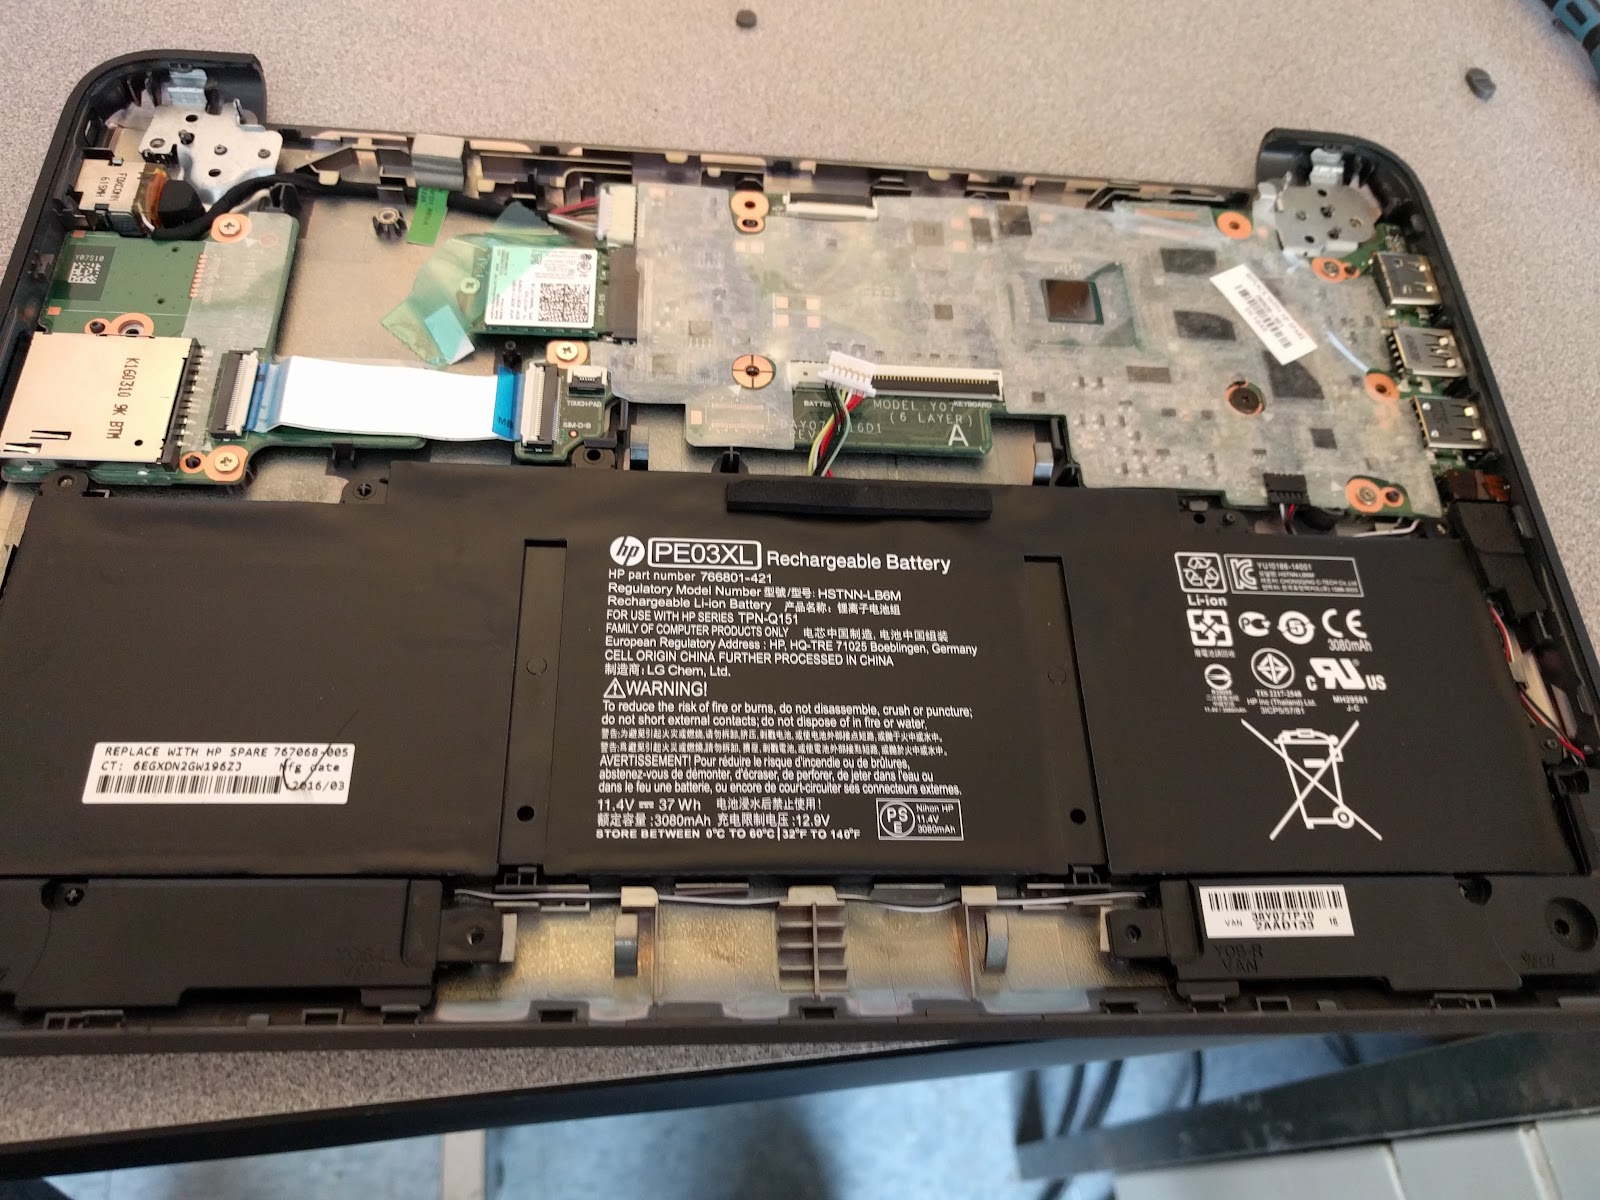
The Battery & Internal components
Every Chromebook, I have opened up, has all had a rectangular battery with 2 mount points. This year with the 720's we have seen a large number for battery failures, because one of the mounts breaks, and then the battery pulls itself apart. The c202 battery is an L shape, and has 9 screws holding it down.
Another common fail point for any laptops, has been plug that the power adapter plugs into. If the power cord gets jilted, then the plug can pull off the motherboard. To fix this takes some steady-handed soldering, or a new motherboard. What Asus did was put that item on a very small breadboard, that could easily and inexpensively get replaced. The ribbon cable going over the battery, seems like an odd choice, but only time will tell if it becomes an issue.
Upgrading the ram, or harddrive is not possible with this Chromebook. Both items are soldered into the larger section of the motherboard.
The USB key
The packaging came with a 4gb usb key. The key included the below files, which highlights there on-site repair program, which if we do go with these I will be looking into. I am also hoping that the 4 gig keep can also be used to make a recovery image for the device.
Here are the files from the USB key (C202 Seeding Kit):
Final Review
Whey they first debuted this device and touted its fix in-house design, I was excited. Now that I got my hands on the device itself, I have to say they really lived up to the sales pitch. There is a few places that I can see a potential for common failure, but overall I think the Asus c202 is going to be a very solid Chromebook for schools.


